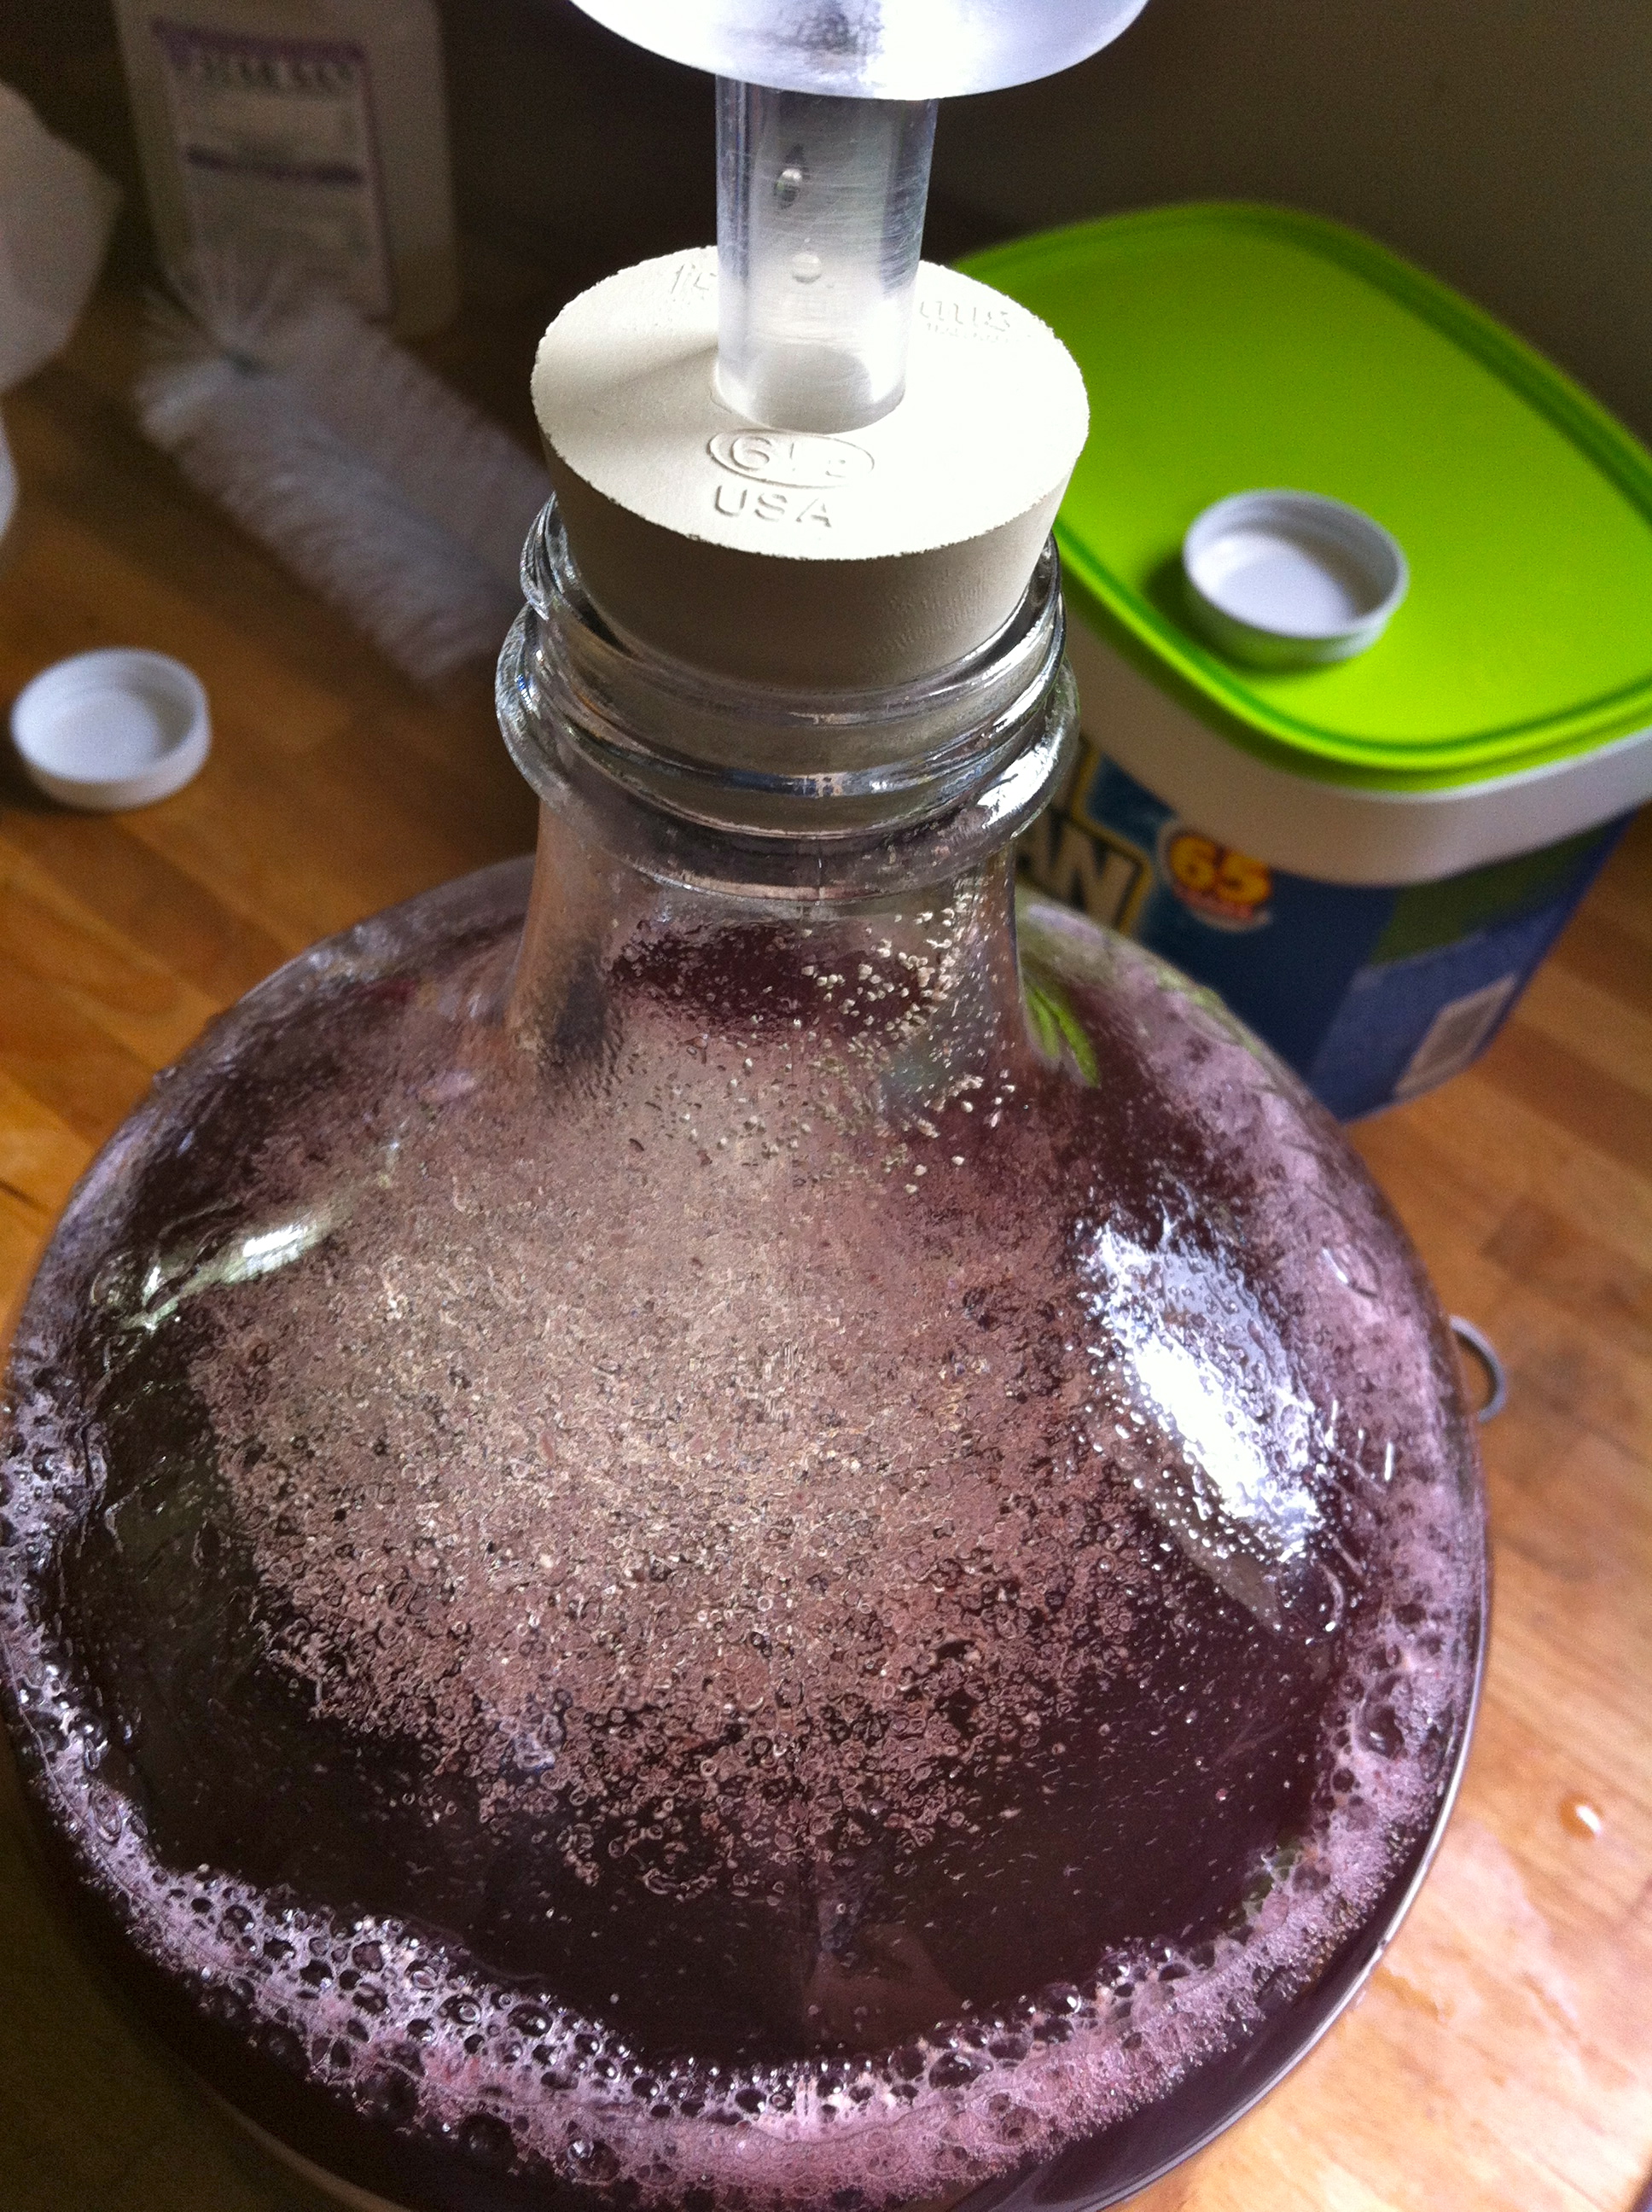
So I’m a little late in posting the results of my first brew. It sat for two weeks in the basement where it stayed at a fairly constant temperature of around 68 degrees Fahrenheit.

It had a rotten fruit yeasty smell – it was about as nasty an aroma as one can imagine juice sitting in the basement for two weeks might smell but with a lingering yeasty scent. In a word, it was off-putting. And not in some kind of delightful “I’ve made jug wine!” kind of way – it smelled closer to moldy tennis shoes than to wine.
But I persevered and stuck on the spigot and plastic tubing for the transfer.

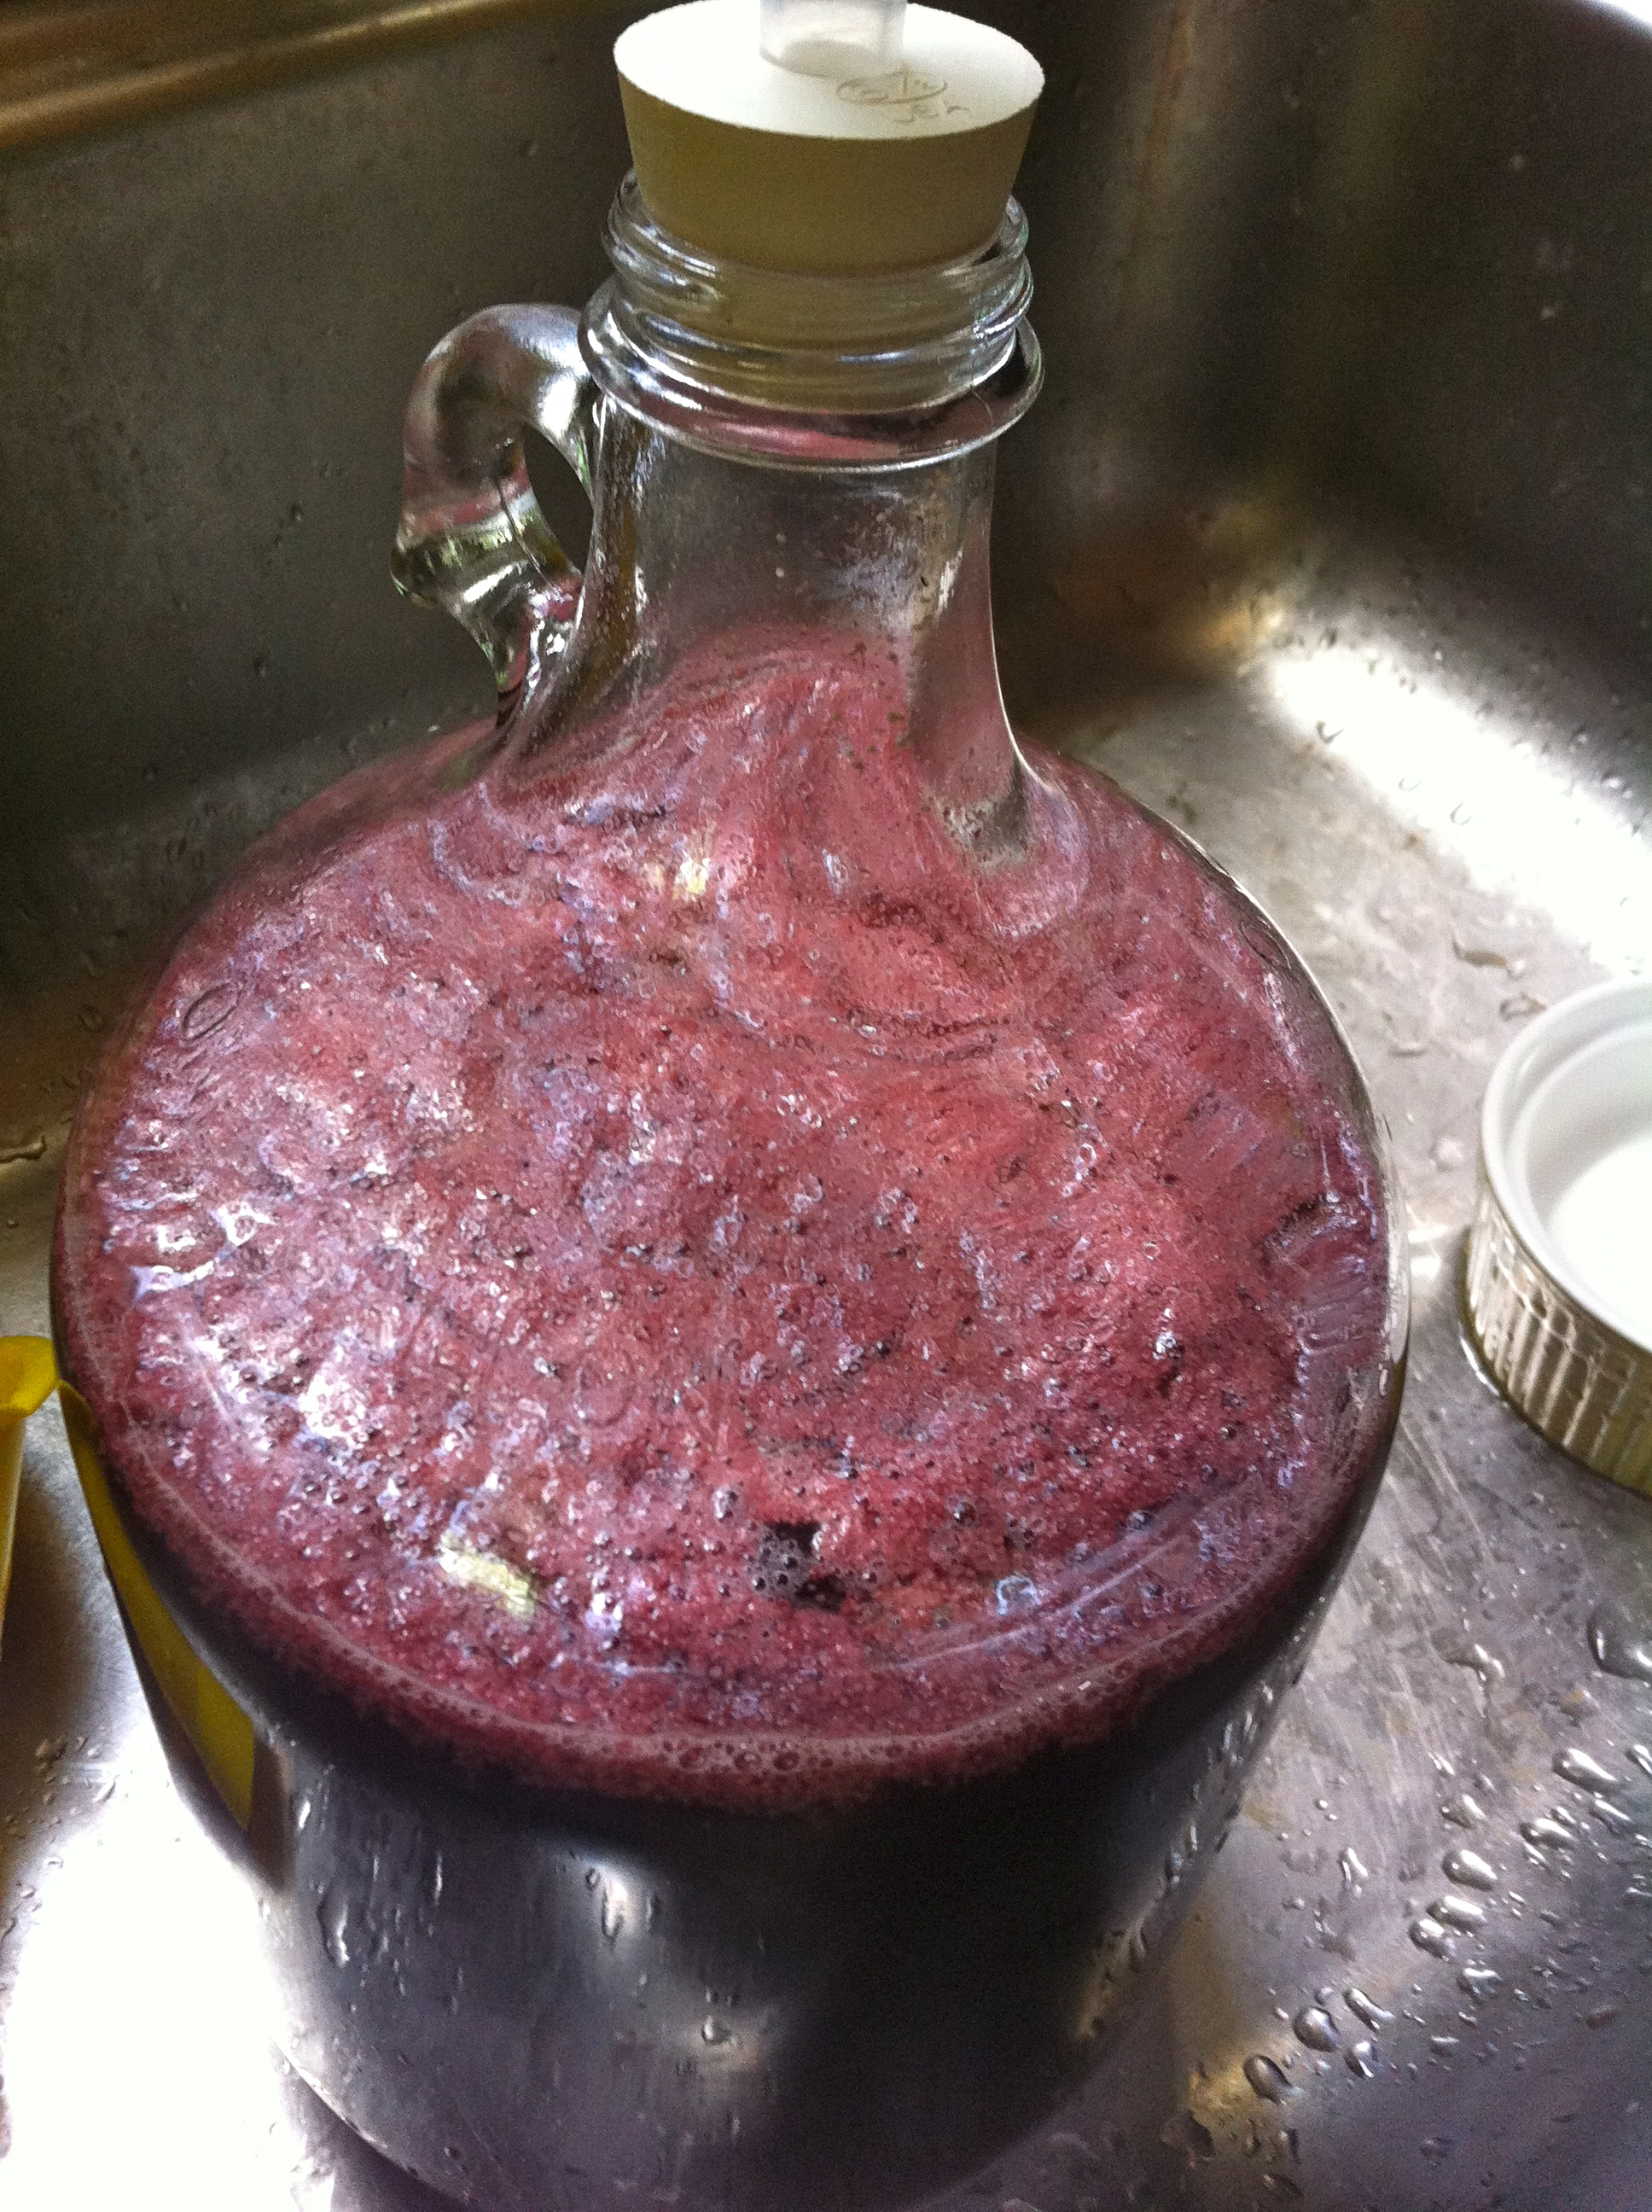
Transferring the liquid is necessary b/c there’s A LOT of frothy yeast in that jug and I don’t want to drink any of it. Rather than go through the mess of a cheesecloth and funnel, I’m going to siphon the liquid into a sanitized brewing bucket, leaving the clumps of yeast behind in the jug. Then I’m going to clean out the jug and siphon the liquid from the bucket back into the clean jug. This process serves two important functions: 1. Filter out as much yeast as possible from the juice and 2. Use the jug as a pretty and practical container for keeping the juice refrigerated and easy to pour.
The other side of the tube goes into the brew bucket for the transfer.

Now the tube just needs a little bit of suction to promote the siphoning from the jug into the brew bucket. It was pretty tough to do this job with how gross the concoction smelled. I really didn’t want to end up with a mouthful of clumpy yeast juice.

Don’t I look nervous? It’s a scary job.
Alas, the siphoning began! And I managed to avoid tasting the stuff.


And then it was siphoned back into the jug.


The second transfer is definitely important. Look at how much stuff was still left at the bottom of the bucket.

And now the pretty jug of juice wine! I decided to let it sit in the fridge for a few days to help it carbonate just a little.
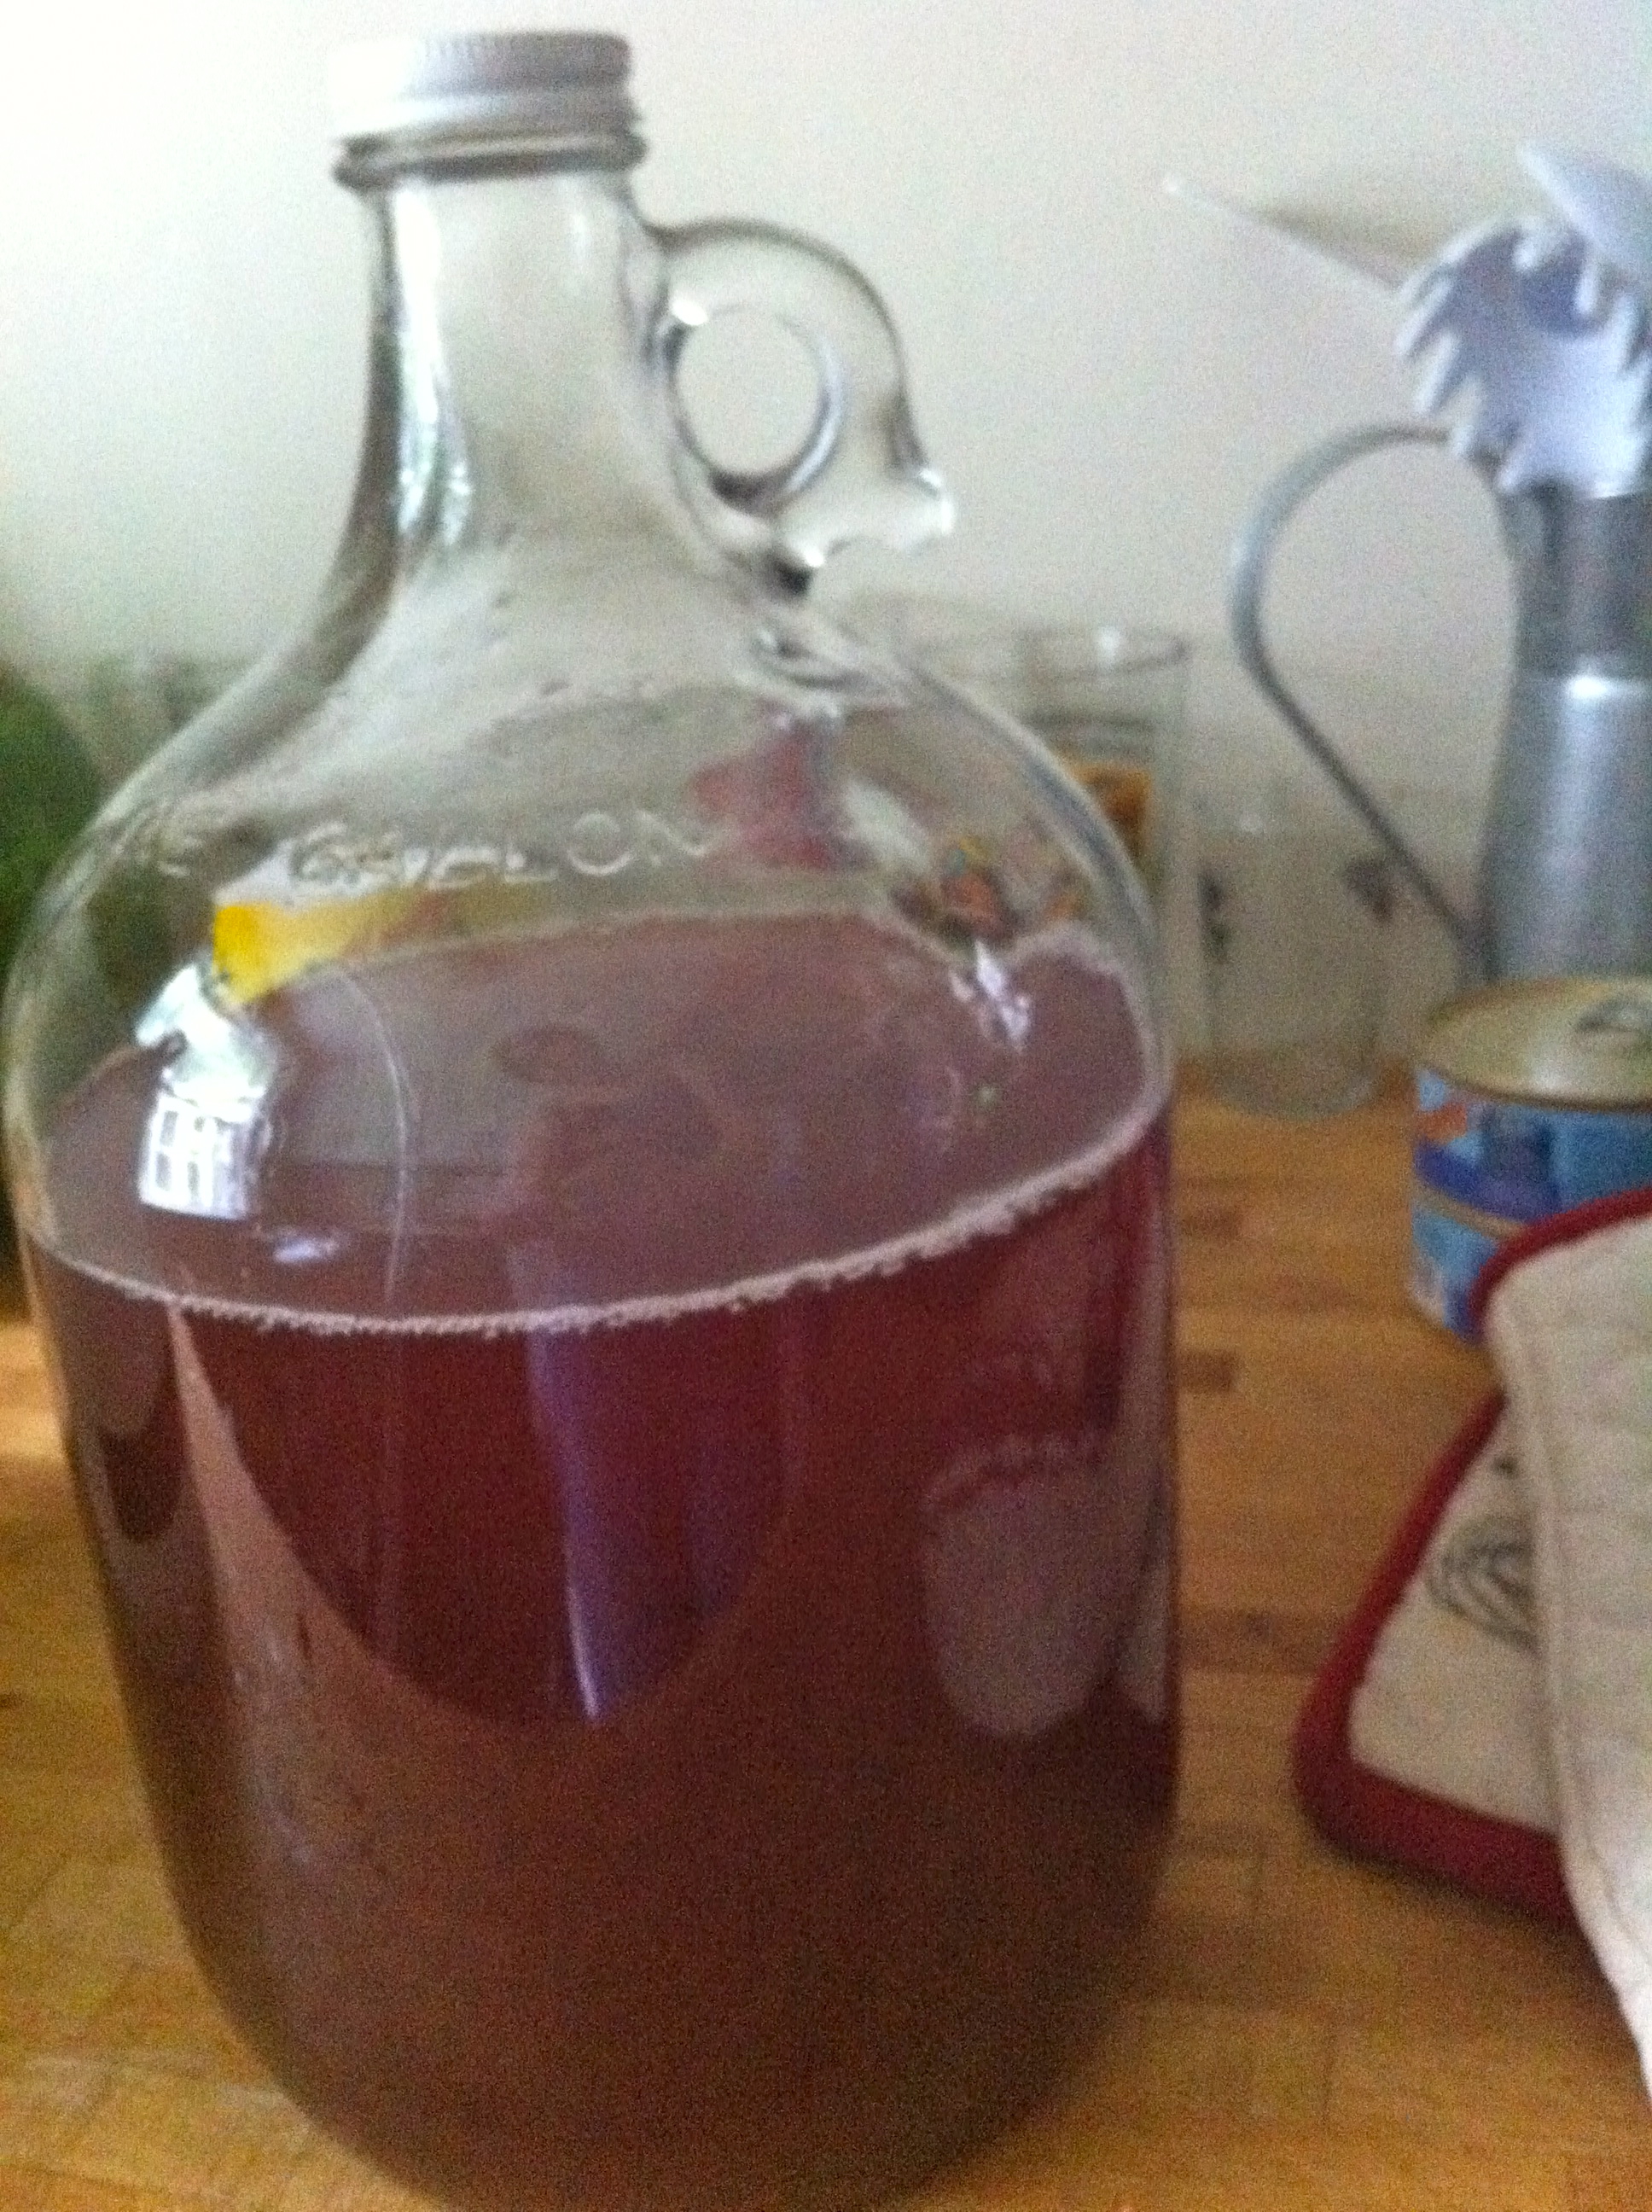
When I first tried it, I was pleasantly surprised that it actually tasted like wine in spite of its initial off-putting aroma. But it tasted very dry and not so flavorful. Like church wine….kind of.
So I let it sit for another week and a half in the fridge to experiment with the taste differences of bottle conditioning it for a bit longer. Mostly I just didn’t want to drink it again for a while.
Tonight, I decided to give it another try. There is no off-putting odor anymore. It’s slightly carbonated, which is nice. (Takes another sip) Still dry, though. Very dry. Like a slightly sweet, very dry rosè wine with teensy hints of blackberry. I think next time, I’ll just do straight up apple juice although something citrusy might be just perfect – like grapefruit or mango.
All in all, though, it was a fun experiment in easy, frugal home-brewing fun.
Cheers!